Thanks for the return. I really appreciate it. Just to keep things on track so I can stay consistent, I'd like to be able to post a new entry every Monday and Friday of the week. I've even went as far as setting reminders for myself so I don't forget.
So just expect to see a lot more posts in the future. Okay, so with this blog entry, I want to not only discuss the importance of a vision board, but to also do a step by step tutorial on how to successfully create one that you can look to . Like the one that I have in my studio.
Supplies you'll need include, but not limited to:
1.) Foam Board
2.) Poster Board (color)
3.) Sharpie Markers
4.) Glue
5.) Scissors
6.) Magazines
7.) Photos
8.) Post-it Notes (optional)
STEP ONE:
Step one of my vision board was to take my colored poster board, and glue it to my foam board. The purpose of the foam board is to keep the regular poster board from rolling or bending. It keeps it nice and flat. Also it works great for hanging up on your wall or cork boards, whether it be with push pins, Velcro Strips or nails.
STEP TWO:
Step two is to break your board into 4 different columns with categories for each. To keep my columns even, I spaced them 4.5 inches apart, with a 2 inch section for my category titles.
My categories include Family, Health, Career, and Compassion. You can choose anything you want to focus on with your individual boards. Some other examples include Romance, Fame, Education, Spirituality, etc. So feel free to set it up however you want.
STEP THREE:
In step three, I took some images from magazines and some personal photos and cut them up so they can fit accordingly within each category. The goal is to stay on topic in each section but don't overcrowd it. It can cause confusion and also make you feel overwhelmed when looking at it.
STEP FOUR:
Step four is optional because you don't necessarily need to add post-it notes. Totally optional. Since I didn't overcrowd my board, it's easier for me to add post-its as side notes for all of my cutouts.
STEP FIVE:
Step five is the easiest step. Hang your board up someplace where you can look at it everyday. I'm always in my studio. So I chose to hang my board up near the side of my drafting/drawing table. Since my work station faces a window. Gotta have that natural light sometimes \(^.^)/
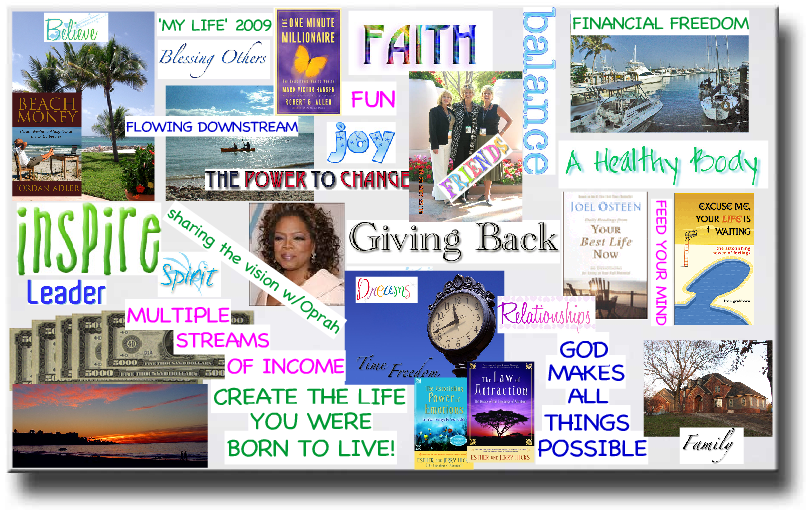
The point of a vision board is to put your dreams, hopes, goals and aspirations into some type of physical form. Visualization is a very strong tool within the human brain. If you can see it in your mind, you can hold it in your hands. Look at your boards everyday. See yourselves as already having these things in your possession. Then, work towards obtaining them. Below are a few examples of some vision board templates. You can find these everywhere. I usually lean more towards Bing.com or Google.com:

What you put out into the universe gets returned back to you. So have fun working on your boards. Leave your comments below and let me know how it turned out for you. Until next time...
Keep Creating,
Karii J.